Happy New Year!
2020 was definitely a weird year. The majority of the year was dominated by news of the COVID-19 pandemic. There were mass lockdowns across different countries. International travel halted to a trickle. Jobs were lost. Lives were lost. I am very thankful to not have been impacted as much by the pandemic. I didn’t get the virus, nor did any of my close friends or family - we are all safe. However, as you may note, I didn’t write very much last year on this blog*I only wrote TWO posts!. Some of it was due to the pandemic. Most of it was due to personal difficulties.
In order to motivate myself to write more, I thought I’d start the year on this blog by writing about one of the more interesting projects I did. I built a model of the SARS-CoV-2 coronavirus.
Ever since the pandemic hit, I had been morbidly curious about the virus itself. I read as much as I could about the virus. One particularly good site is Inside Corona. And one fine day, the folks at that lab released an accurate 3D model of the SARS-CoV-2 virus for 3D printing. I knew I had to get on it. Along the way I acquired new skills and tools. Let’s begin.
3D Printing the Components
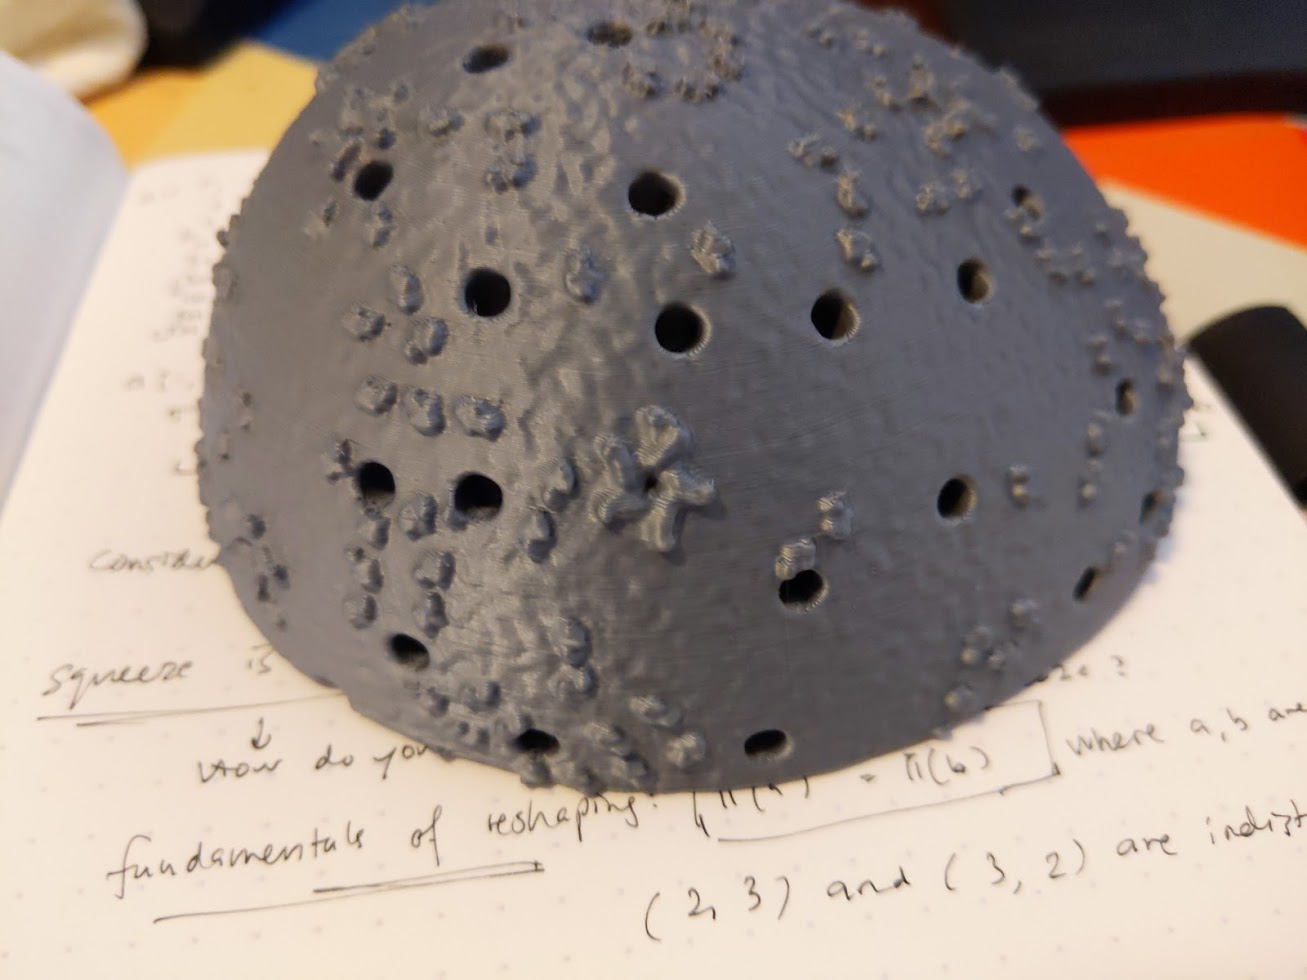
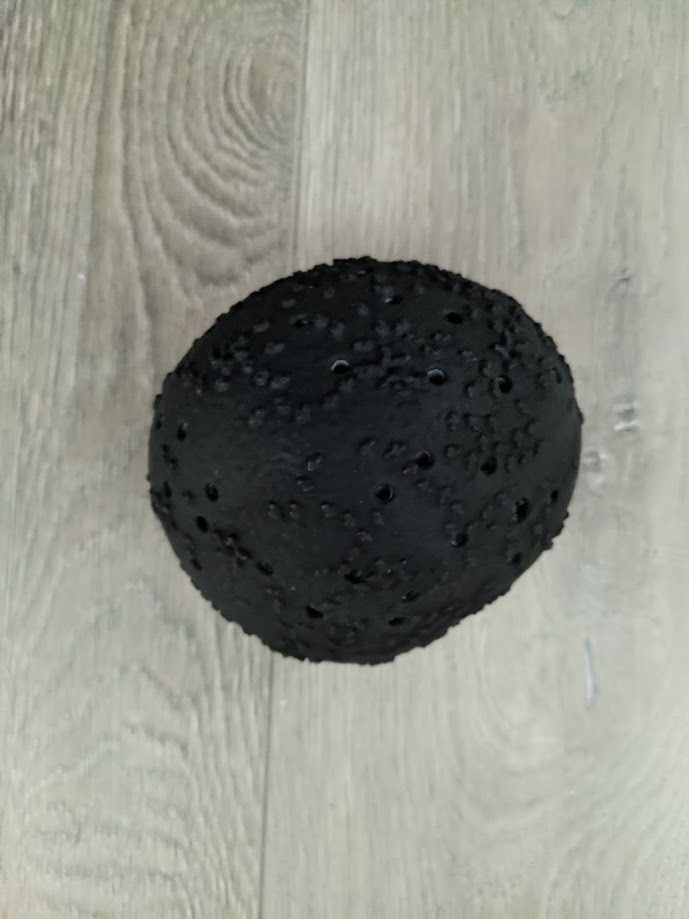
It all begins with the 3D print of the virion. I opted to print the more realistic irregular spheroids instead of the spherical ones. For all my prints, I printed with a 0.15mm layer height on Prusa grey PLA. They’re all printed on a Prusa i3 mk3s. The virion was printed with a 10% infill while the spikes are printed with a 100% infill.
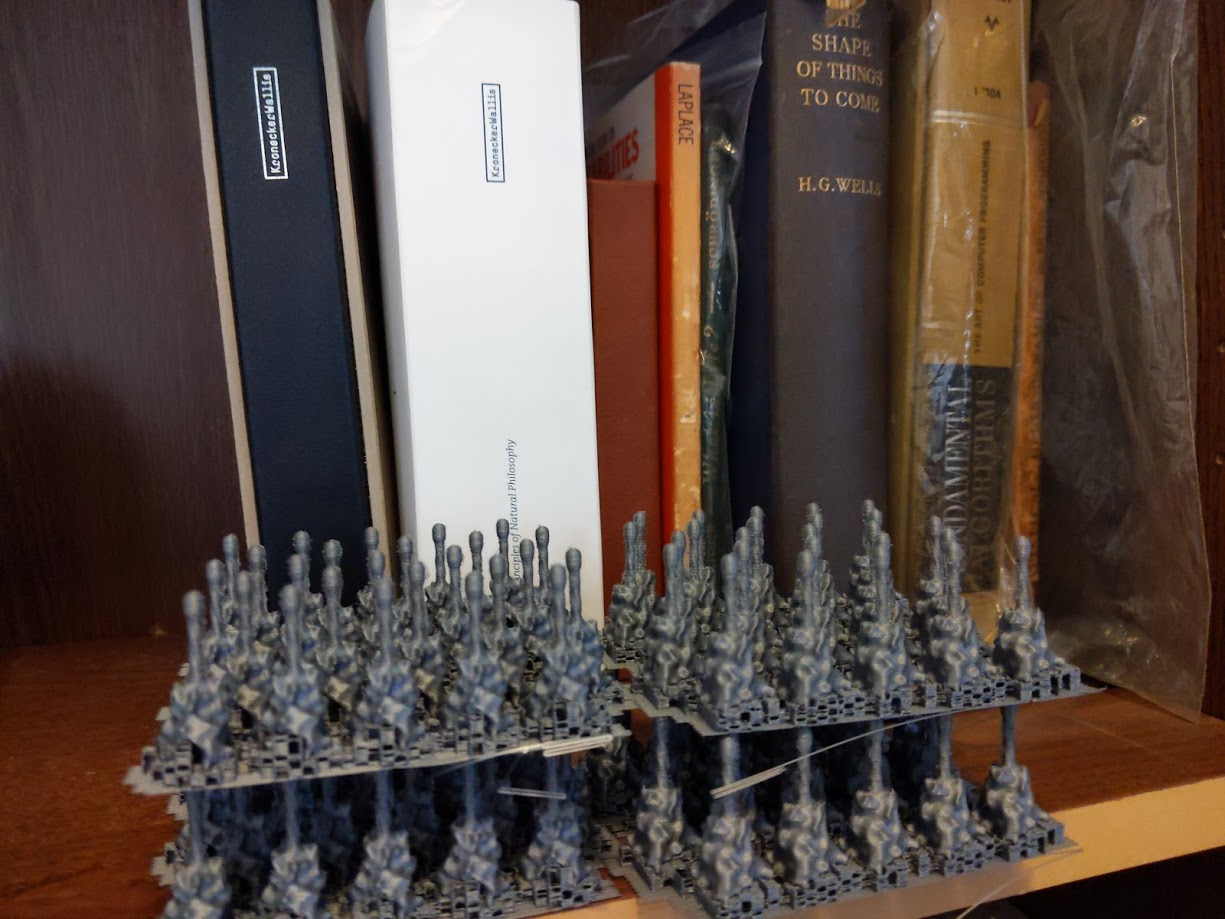
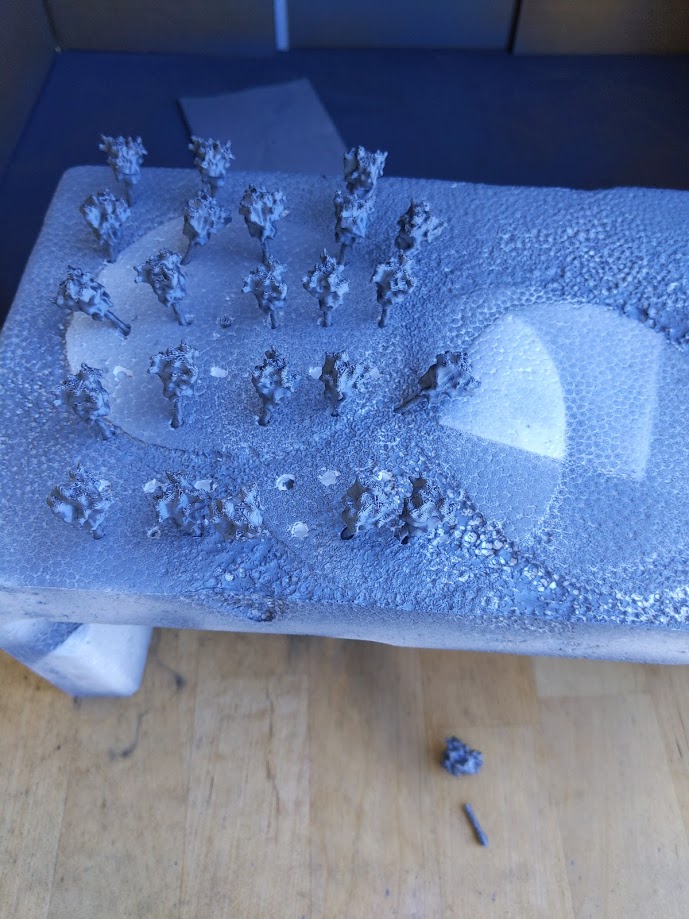
Then the protein spikes are printed. I printed 25 spikes at once, and because the virus has 95 points for spikes, I printed 4 of them. That took a long time.
While the spikes are printing, I did my first rounds of post-processing of the virions. I used a matte filler primer from Repco to smooth out the layer lines. In the end, the layer lines are still somewhat visible, but the results look smoother.
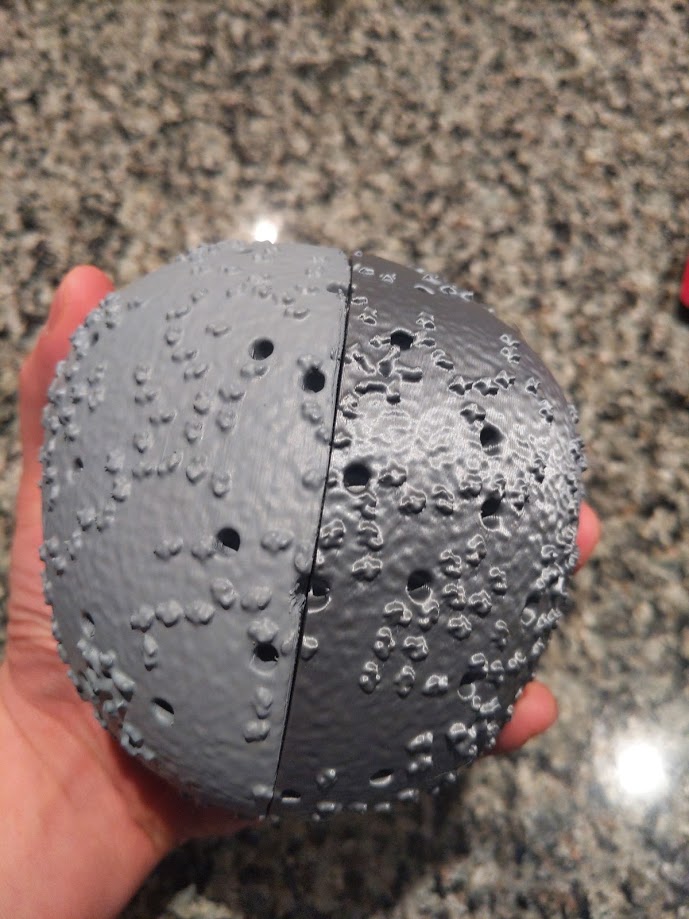
You can see the difference in the virion hemispheroids here. On the left is the virion that has been sprayed with filler primer.
It’s about then the spikes are finally finished.
Removing the support materials from the spikes was perhaps one of the hardest things in this project. You see, the spikes are very very very fragile. Even with very good side cutters I managed to break one spike.
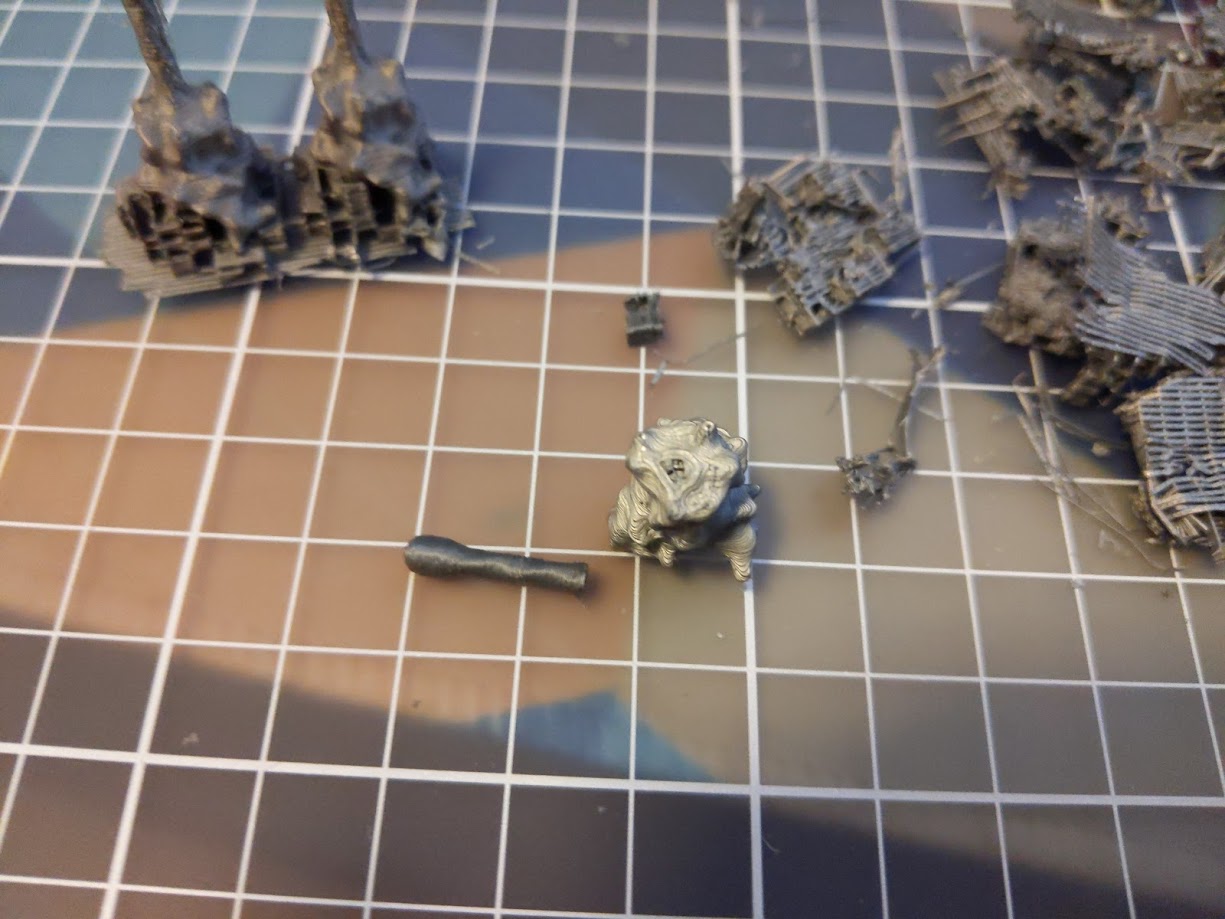
The creators of the 3D model recommended printing extras. I too will second the recommendation. At every stage after this, there will be at least one broken spike.
Constructing the Virion
The next step was to construct the virion.
One difficulty in constructing the virion is that the flat parts of the hemispheroids are not actually flat. This leads to quite a bit of sliding due to the uneven surface.
I used superglue (cyanoacrylate) to glue the two halves together. Unfortunately I didn’t do a very good job of gluing them evenly, so very visible groove in the seams is formed. More post processing is required.
The first thing to do is to fill the seam. To do that I used milliput to fill the seams. This was an iterative process. I’d mask off the seams, fill it up with milliput. Then I’d sand it down with a modified electric toothbrush. Any further edges are marked with a Sharpie. This is then repeated until most of the seams are gone.
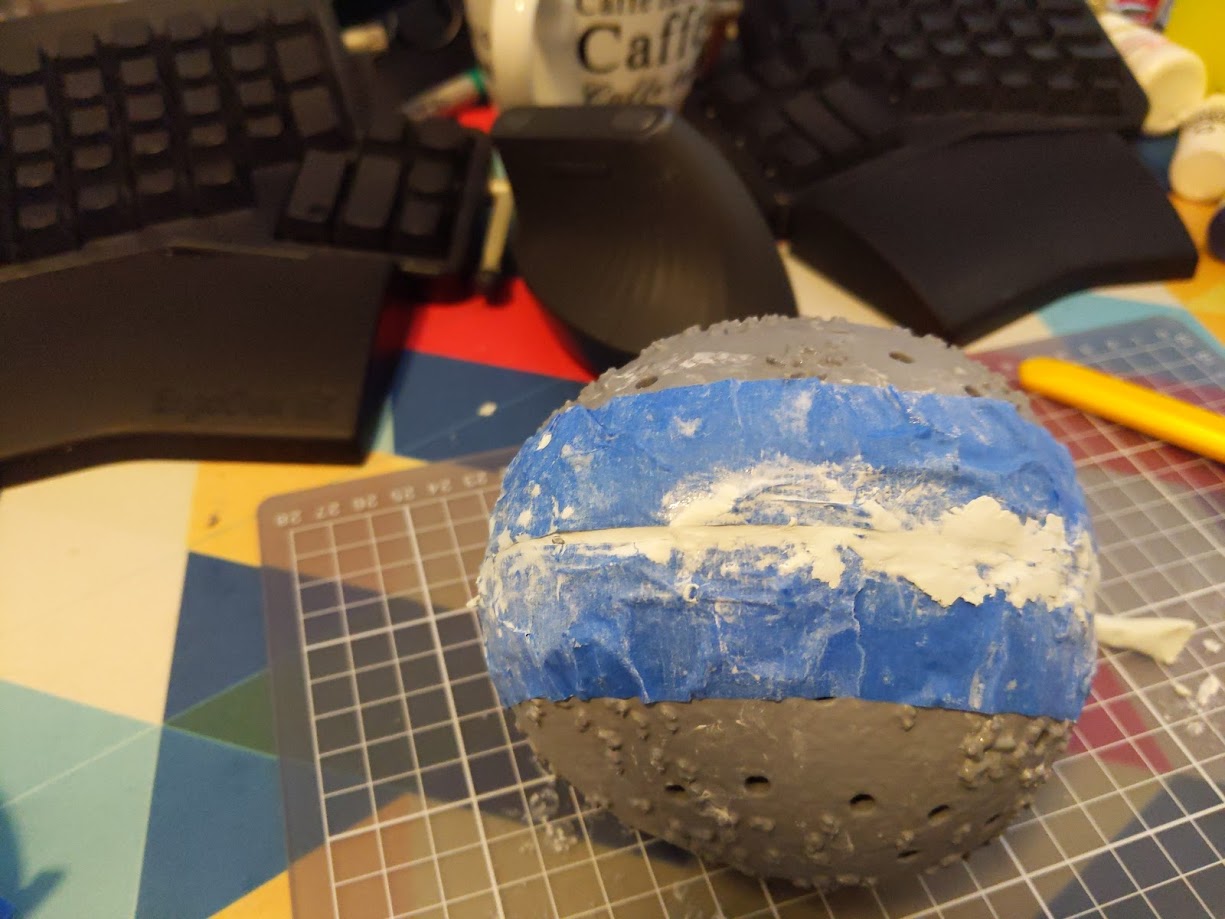
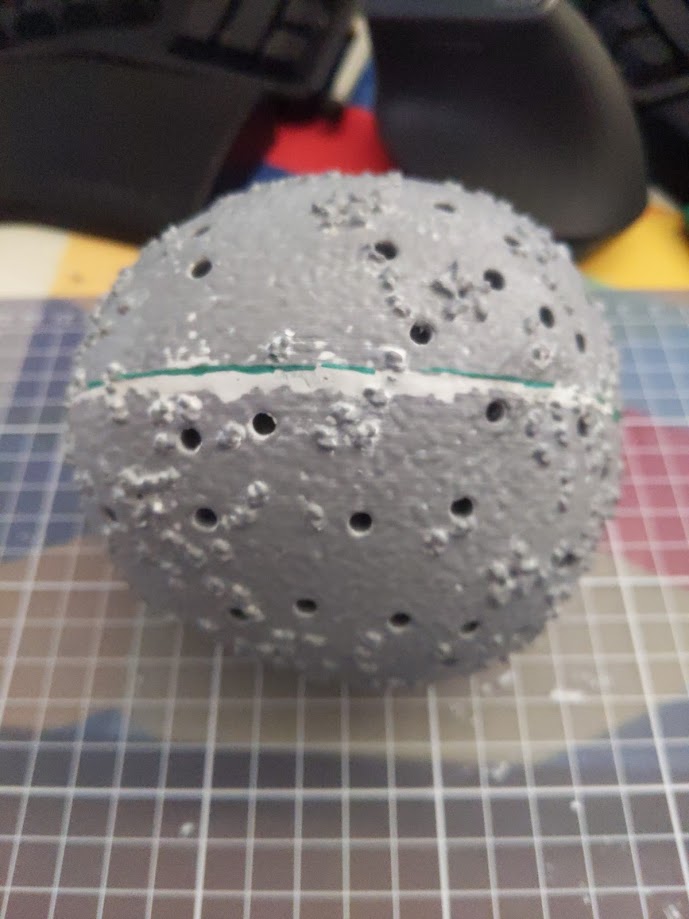
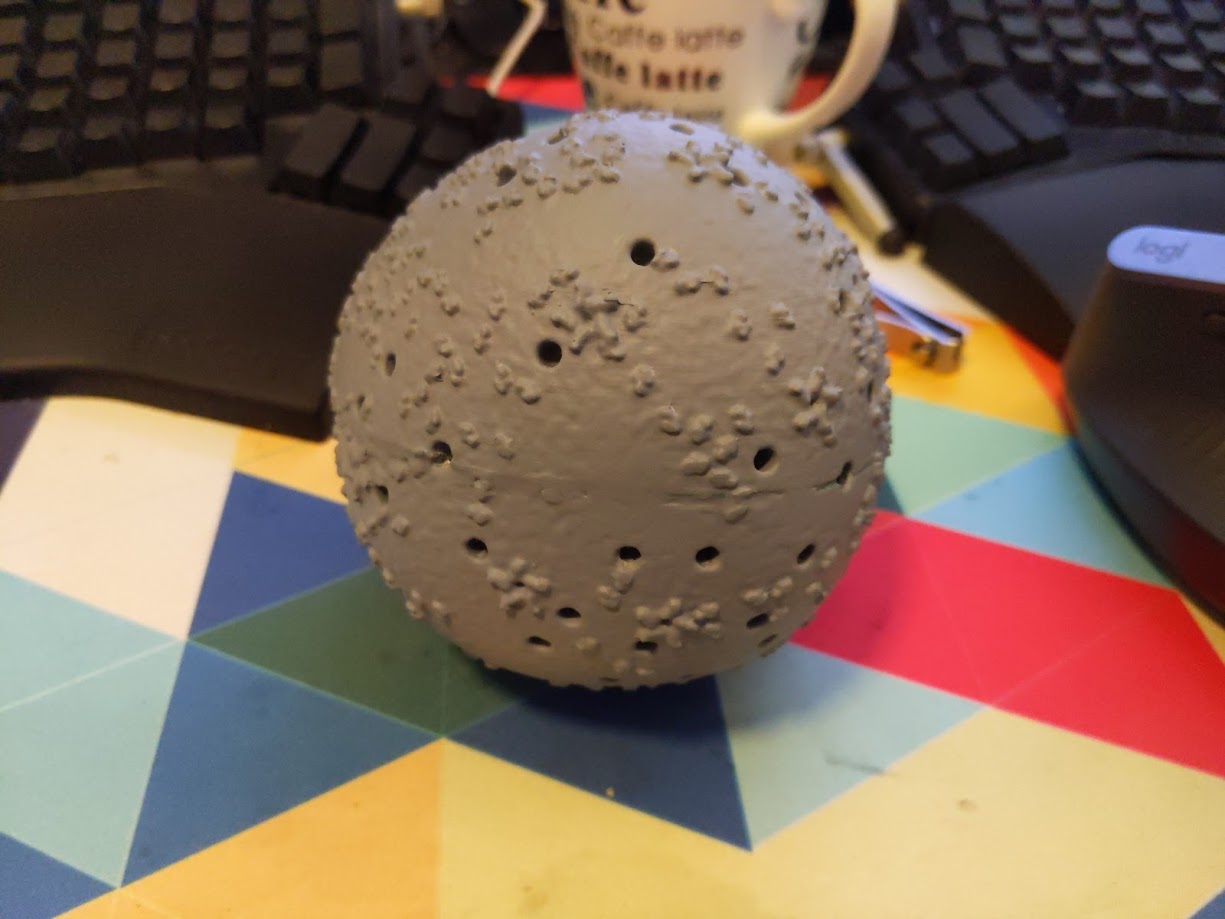
Another coat of filler primer later, it looks like one whole piece. You can still see the seam somewhat, given the textural difference:
The same treatment is done for the spikes. Notice the broken spike. This spike broken when trying to put it a pre-punched hole in the styrofoam.
Painting
The seam was filled but it’s not perfect and so it bugged me. I left the virion on the shelf for many weeks. Every time I walk past it I’d see the flaws. This very nearly became the end of the project. But then one night I had a great idea: you can’t see the flaws if it’s hidden!
I had a bottle of Black 2.0, which was called the World’s Blackest Black paint when I bought it (today it’s Musou Black that’s the world’s blackest black - which I haven’t yet been able to get my hands on). If I had painted the virion all black, then the flaws would be hidden!
And thus, by serendipity, the colour scheme fell into place. I would simply follow the WHO colour guidelines: black and red to signify how dangerous the virus is. (Here’s an interesting article covering the creative choices made on colouring the coronavirus; and here’s an article on how the CDC in USA decided on their colour schemes)
I had in my mind, a physical object that looked a bit like a photograph from an electron microsope. Photos from electron microscopes frequently feature a fresnel-reflection like surface on objects. It often looks like the objects are made with velvet. With that in mind, I decided not to highlight and lowlight the components.
The spikes are painted with Citadel Mephiston Red. Mephiston Red is a matte red, which goes very well with the matte black of Black 2.0.
Because there are so many spikes, I decided to airbrush them. I never used an airbrush before. I got a cheap 30 dollar airbrush off Aliexpress and proceeded with the following massacre.
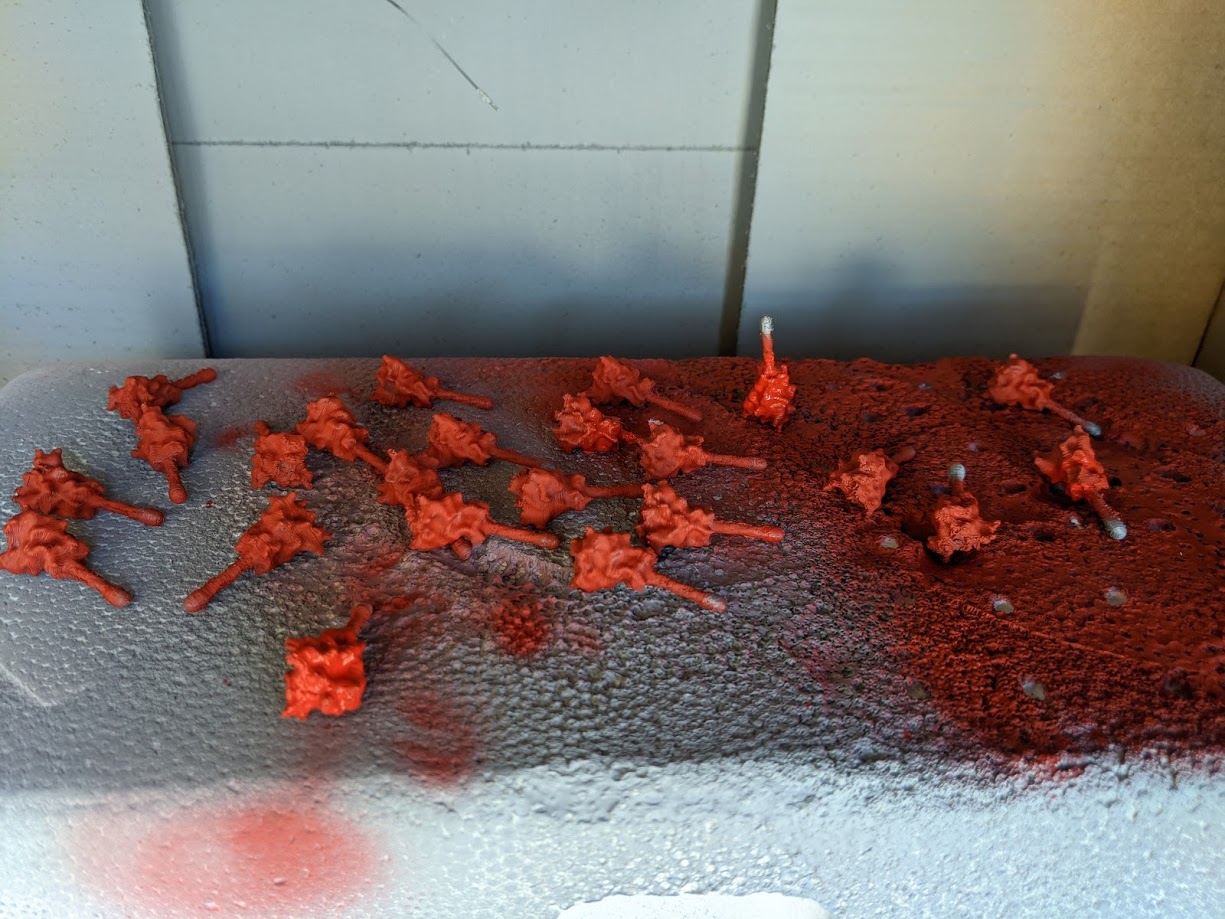
Airbrushing was really fun. I learned quite a bit on using an airbrush, as well as keeping the airbrush clean. I had to sacrifice a fairly nice brush to it though.
Having settled on the colour scheme, there’s also the business of the oligomerized viroporin in E proteins (the star-shaped things) and the M proteins (the rest of the bumps on the membrane of the virion). Being very black, any colour painted over them would be quite dull. So a quick drybrush of Vallejo Cold White would allow for those proteins on the surface of the virion be painted with more vibrant colours.
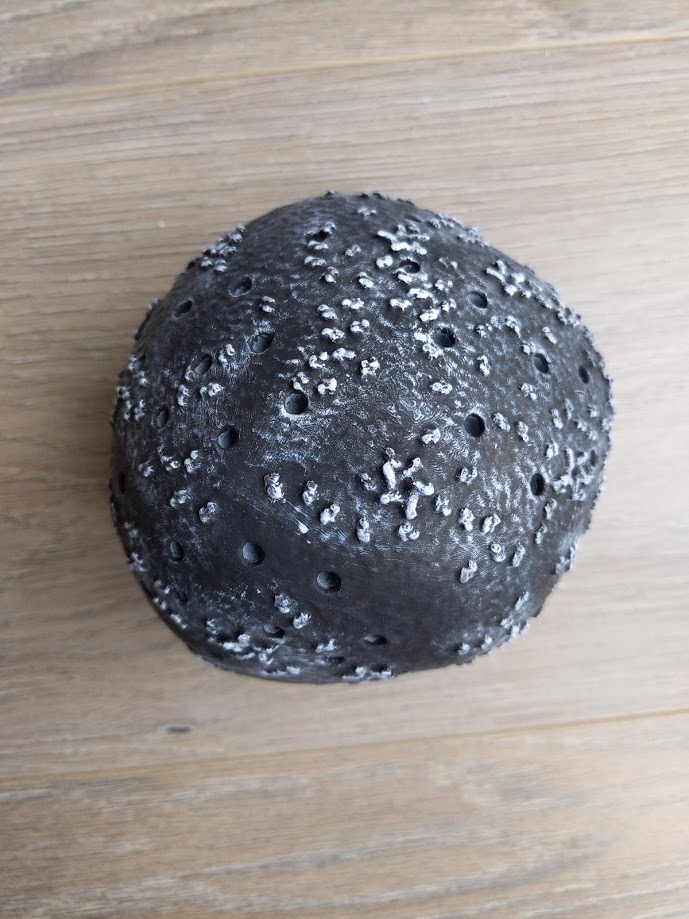
I wondered what colours the E and M proteins would look best. I tried silver for the E proteins, then I tried gold. The silver looked nice but went against what I had in mind - I wanted to achieve that velvety/fresnel-reflection look that you see with pictures from EM microscopes. To do that the colours had to be matte.
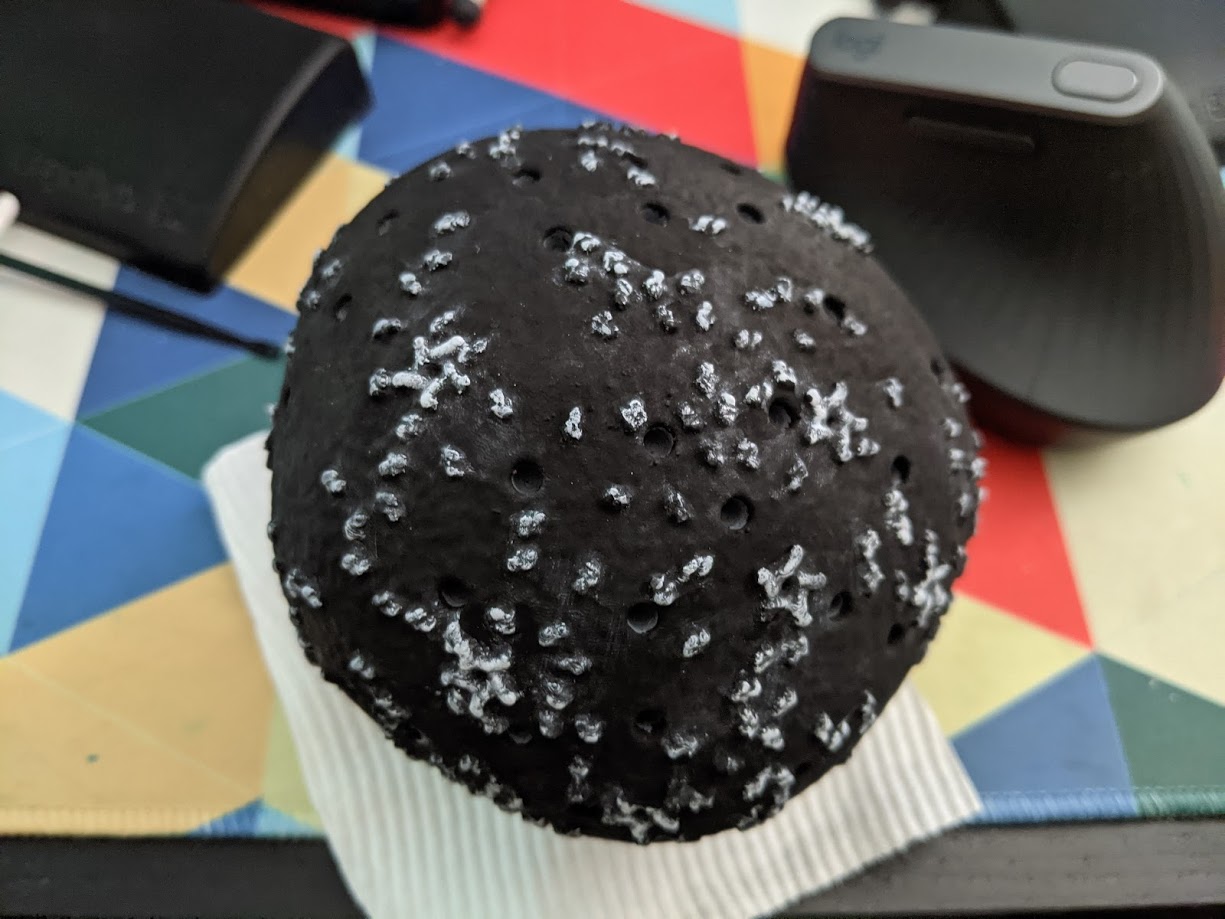
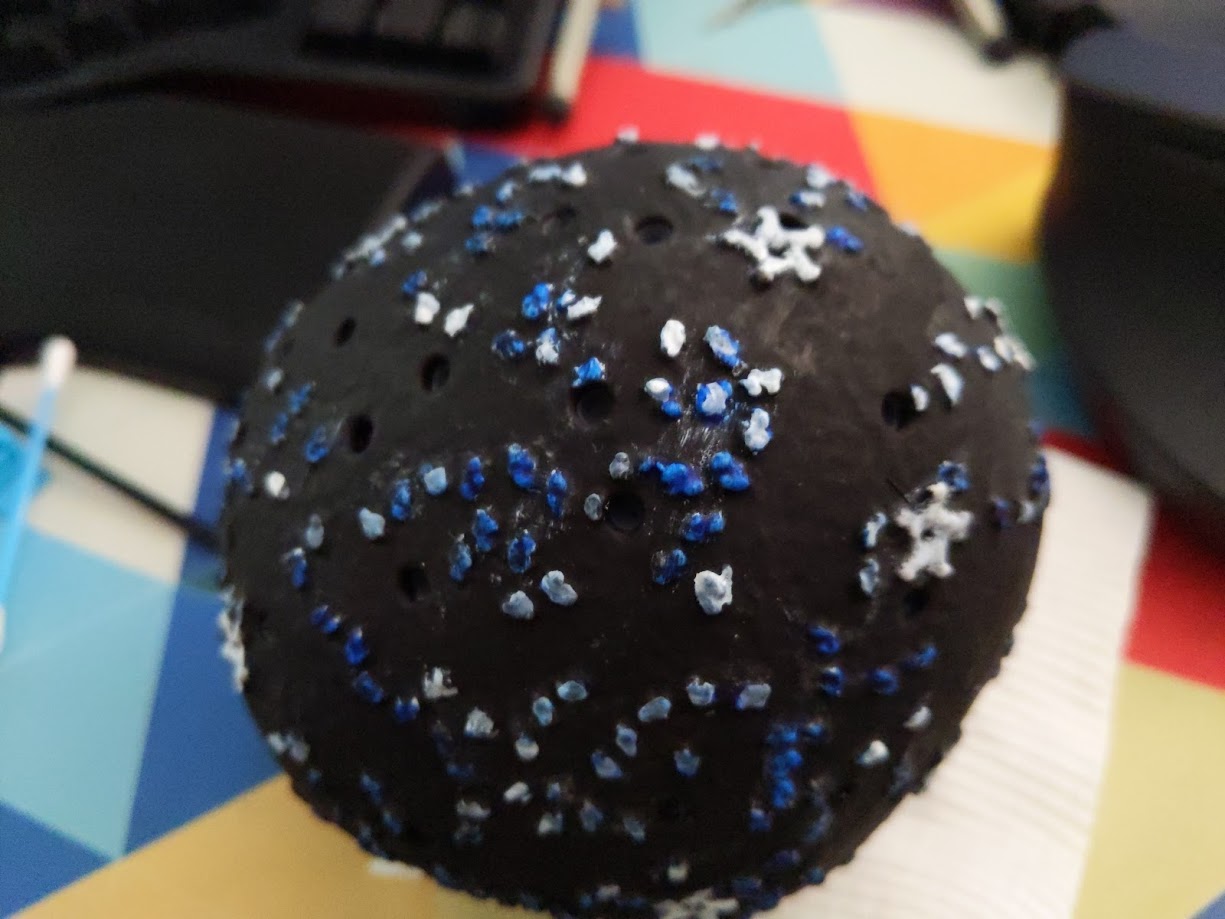
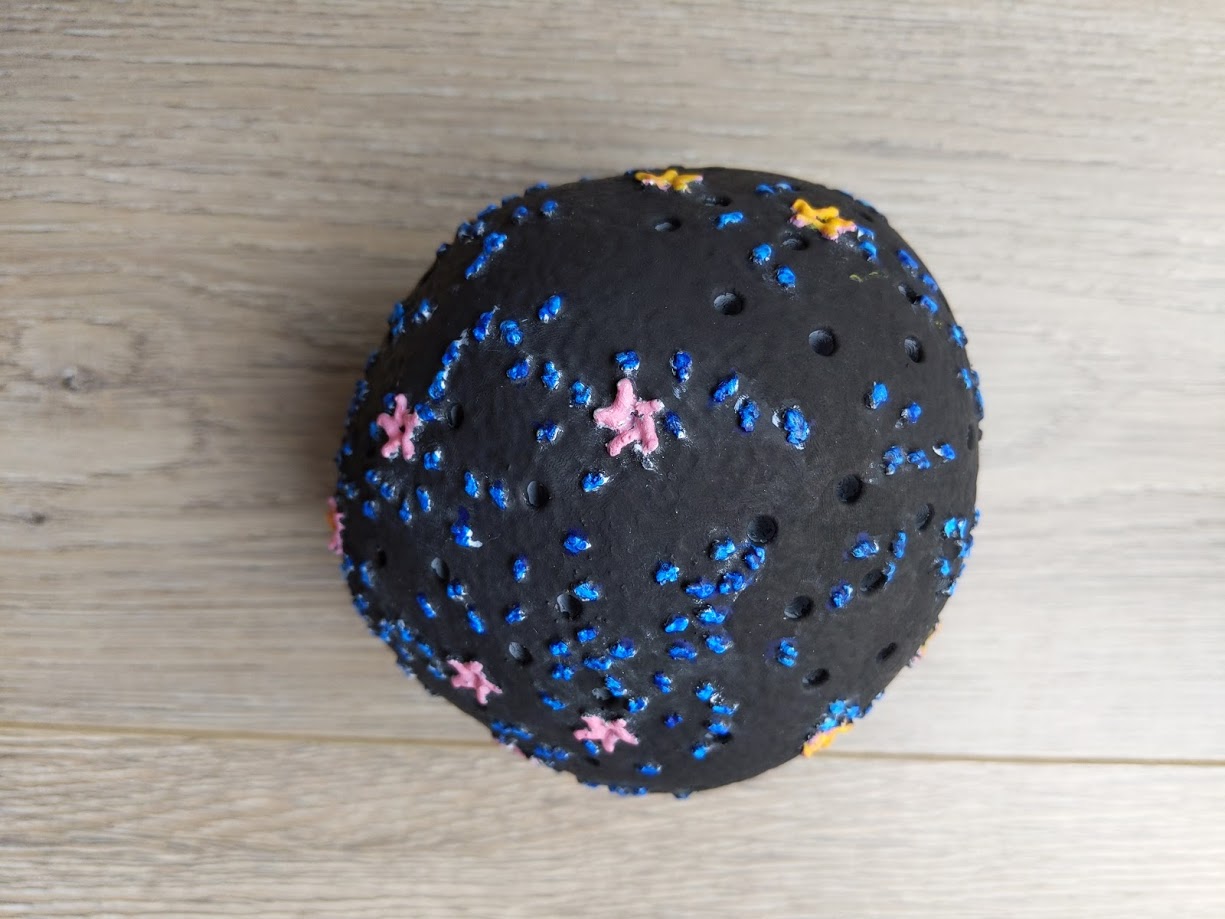
So I settled on Vallejo Transparent Blue for the M proteins and Vallejo Deep Yellow for the E proteins. To further prep for painting yellow on the E proteins, I re-basecoated the E proteins with pink (Vallejo Cold White + a dab of Mephiston Red). Basecoating with pink would make yellows stand out when the yellows are painted on. The following picture shows a a work-in-progress version.
The transparent blue was nice in theory - that it’d flow and over black it’d be invisible. However it didn’t flow as nicely as I wanted, thus leaving white spots. I’d have to come back and fine tune it. Over white, the transparent blue gave a very nice sapphire blue-ish look. I like it quite a bit.
The process of painting the proteins also took weeks. When I was finally happy with it, I used a light grey wash (Vallejo Game Wash - Light Grey) over it. I had hoped that it would give it that fresnel-reflection/velvet look. It didn’t quite. But it’s an interesting effect nonetheless. Furthermore, the M proteins were also dabbed with a very thinned down Vallejo Verdigris Glaze, which makes it pop.
Assembly
Throughout the whole process, I had been fitting the spikes to the virion to have an idea of how the final coronavirus would look like. But now weith everything painted on, it’s time to assemble the whole coronavirus. I didn’t opt to use the stand provided by Andrea Thorn’s lab because the stand was very weak. It couldn’t support the weight of the irregular virion, so it broke. Multiple times.
The process of gluing on the protein spikes was a fraught with breakages. Because the spikes were so fragile, every time I’d break one with the spikes already attached, I’d have to glue the broken spike back, and leave it be for a day or so before continuing to attach the rest of the spikes.
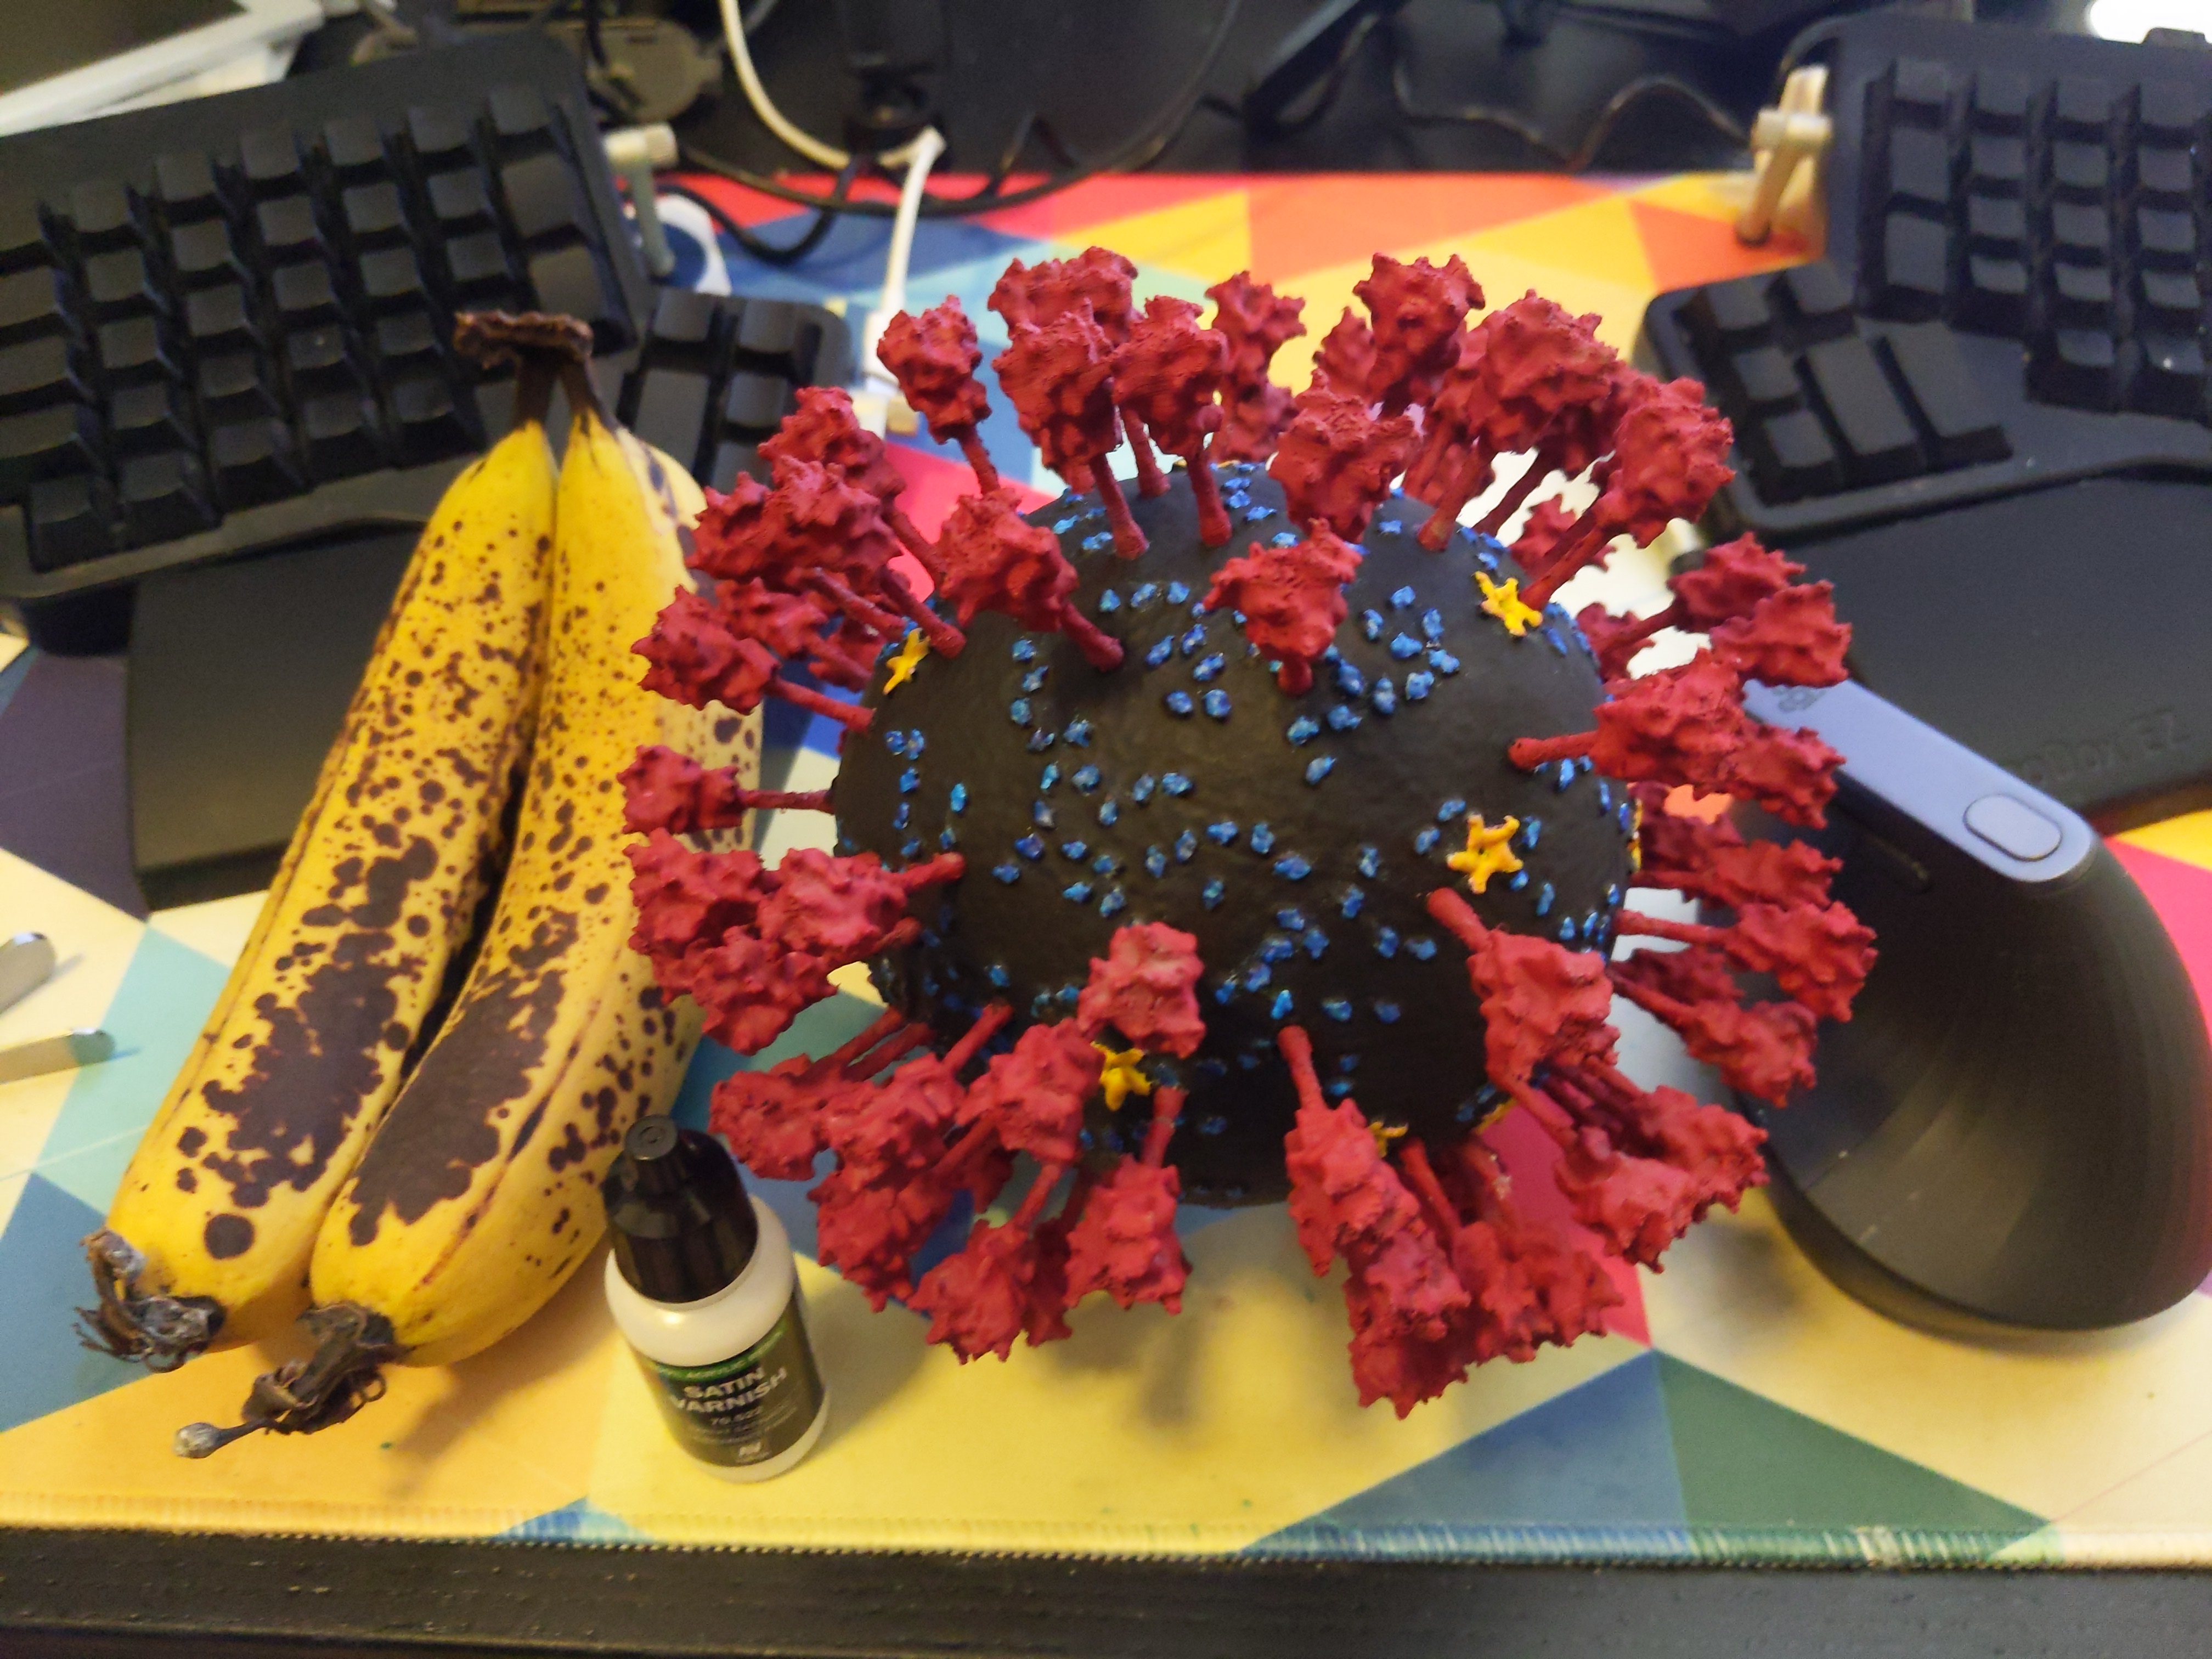
And now, with a banana for scale (the model is huge!):
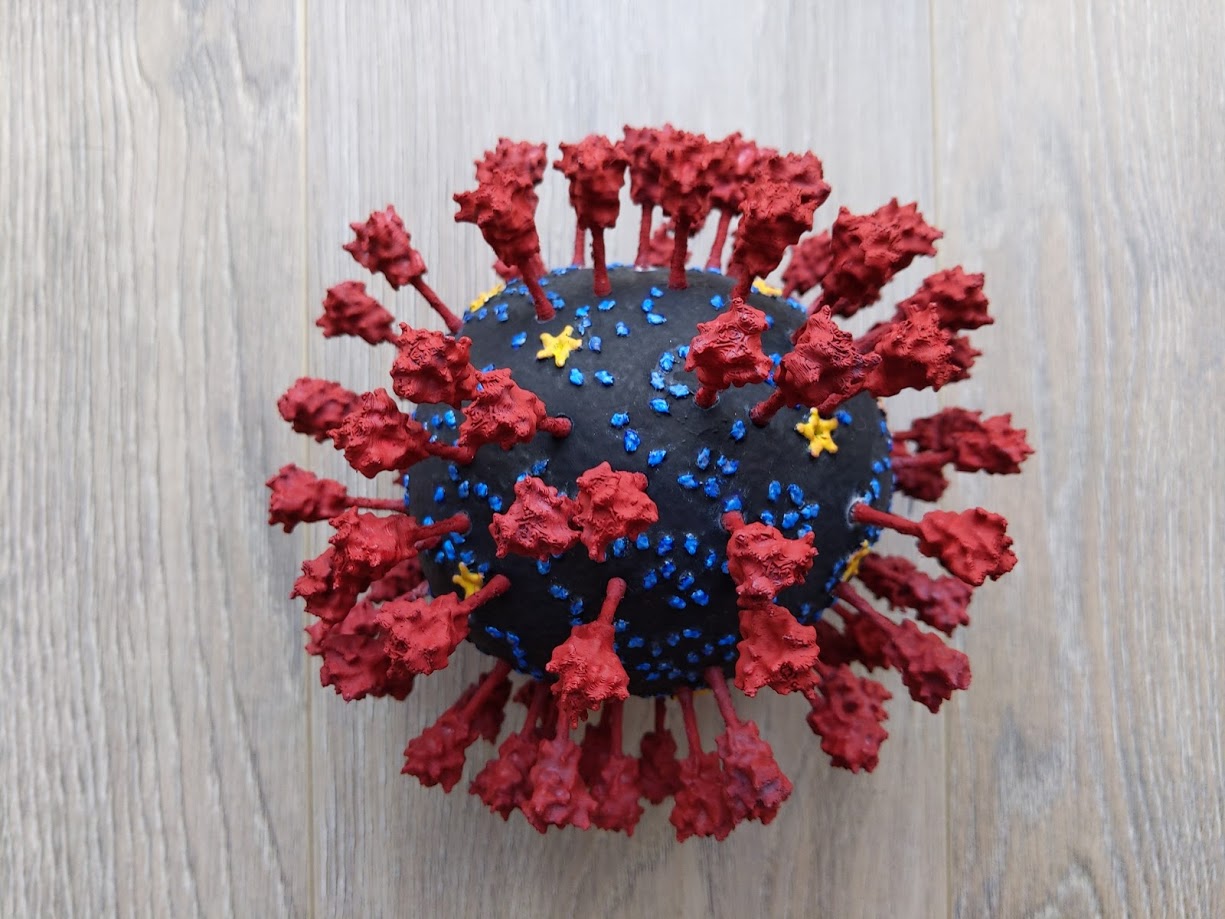
Now that the coronavirus has been finished, it’s time for a final touch up. Cyanoacrylate leaves a white mark when it dries. So those areas needed to be touched up. I went back in with a size 0 brush and painted any white spots black. I also touched up any red and blue bits that were spotty. This had the effect of undoing the grey wash. So I reapplied slight amounts of grey wash.
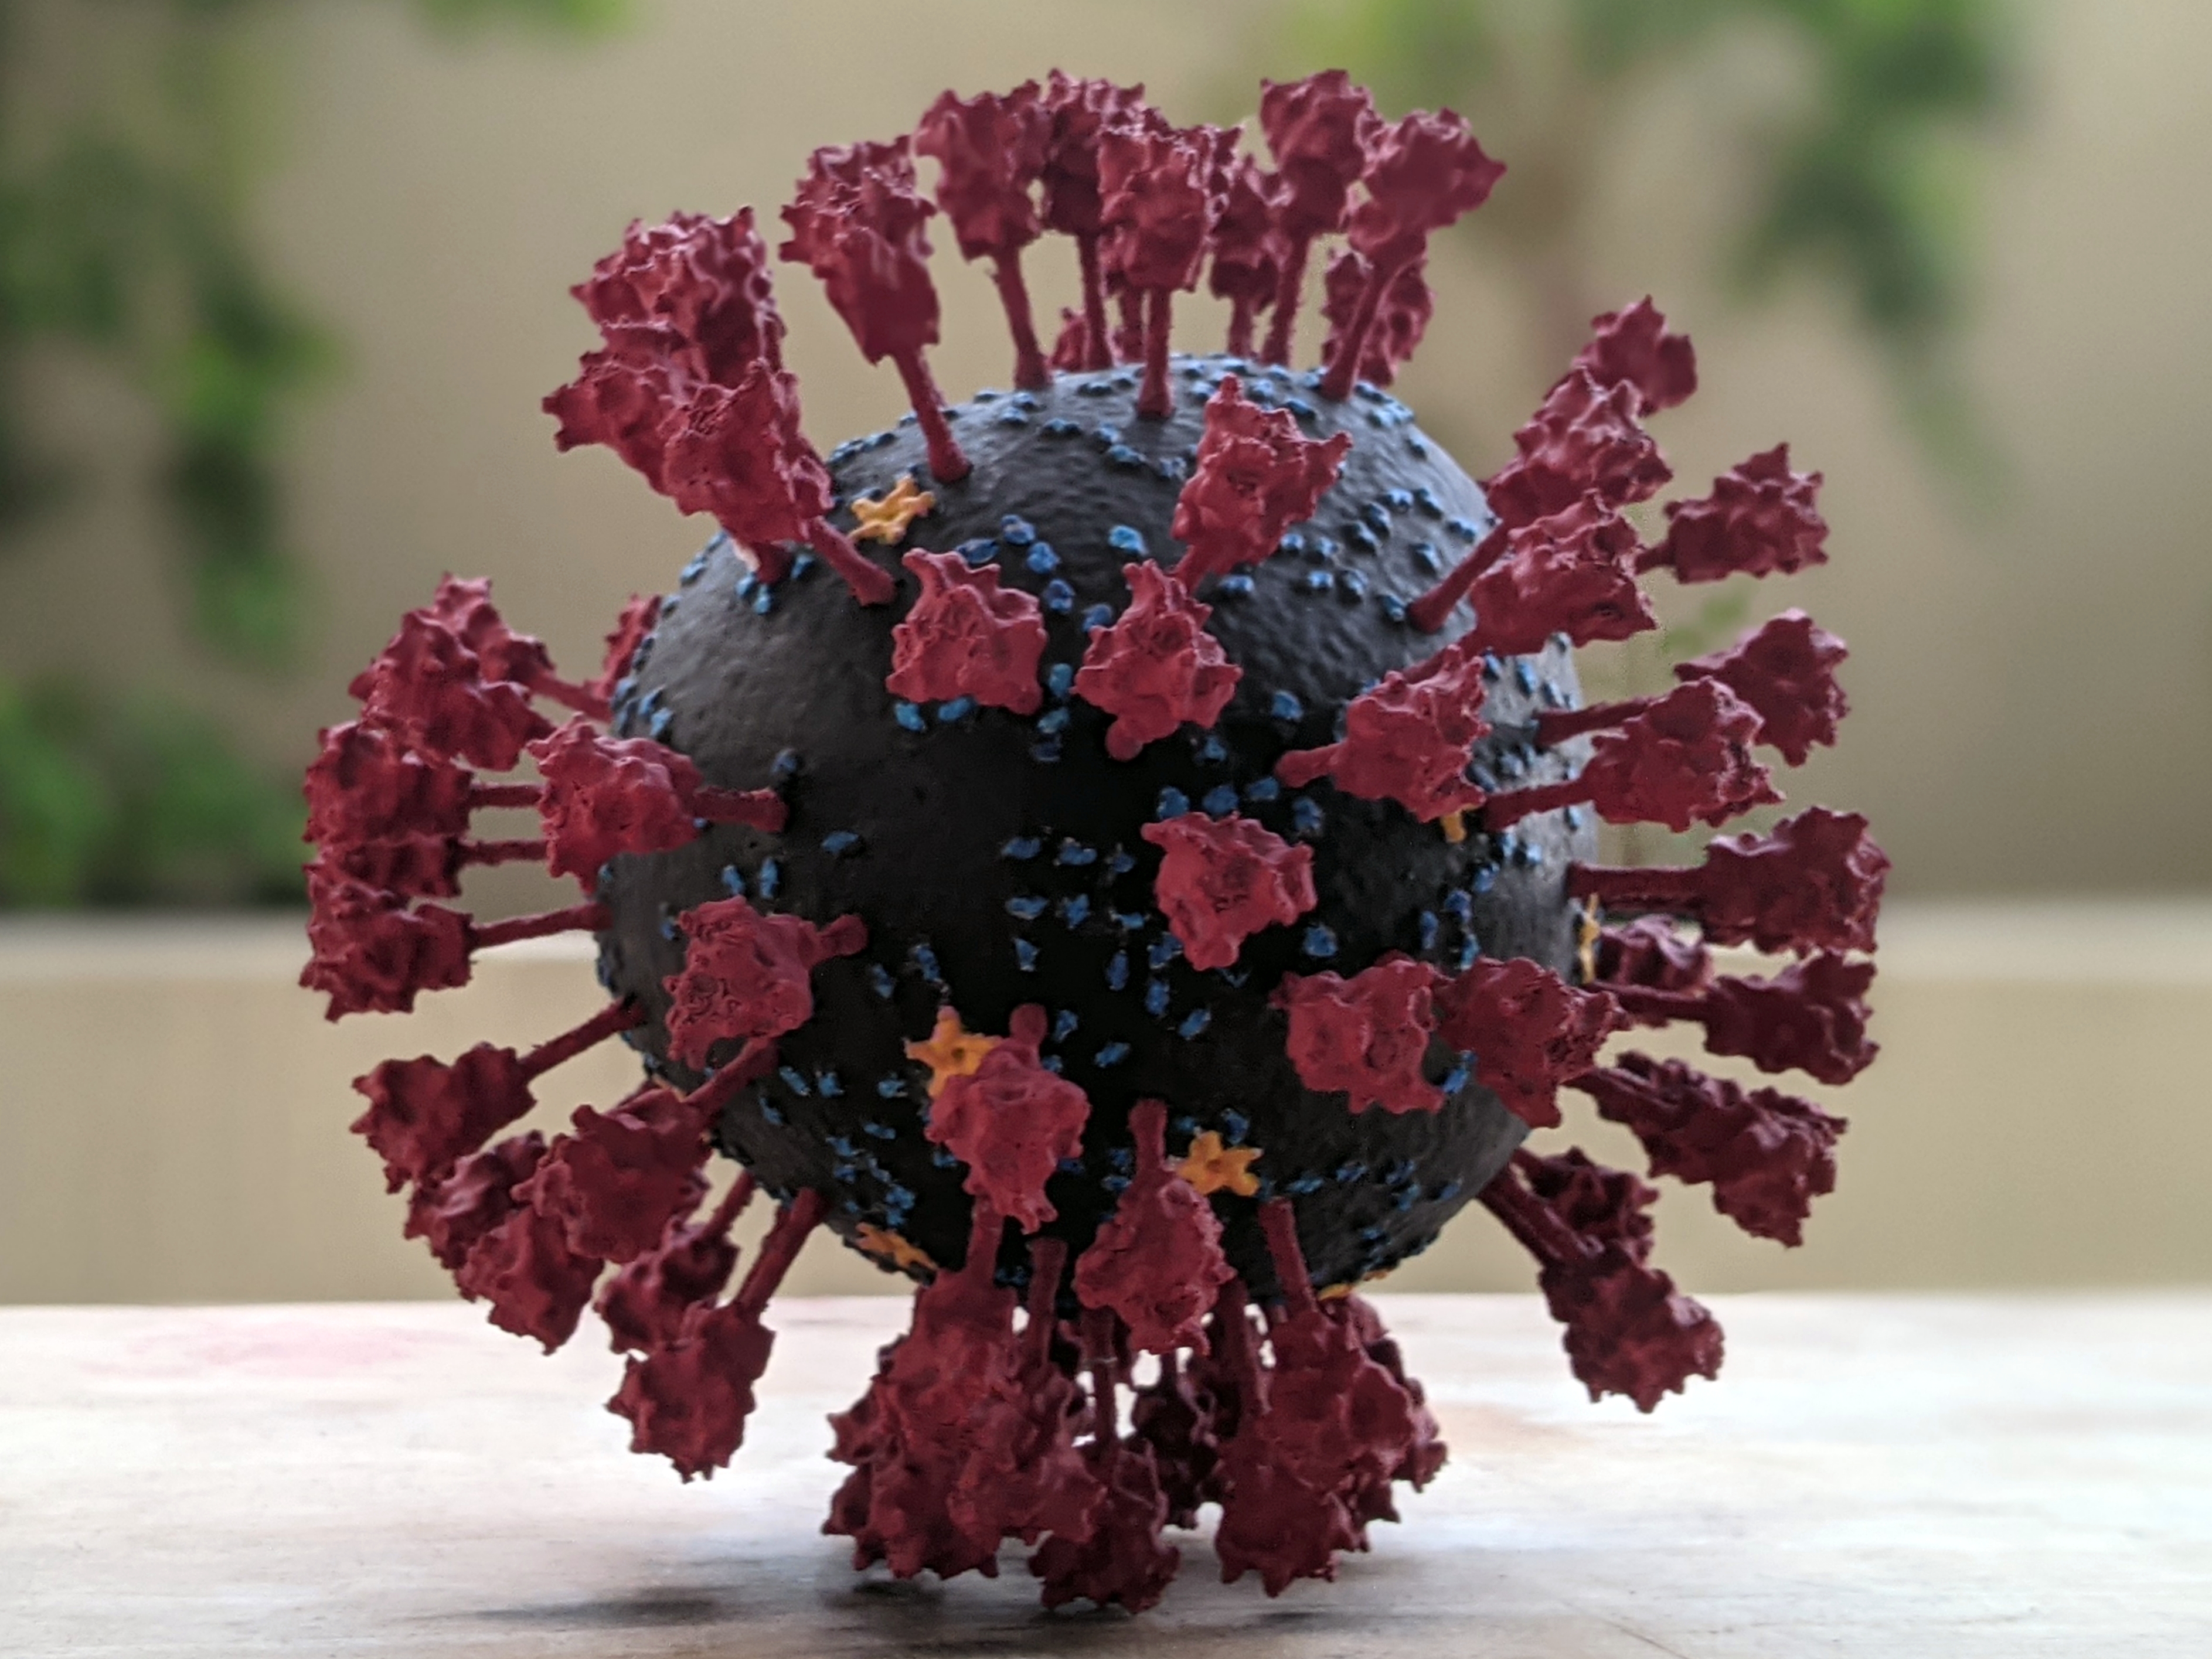
Finally, I protected the model with some matte varnish. I airbrushed Vallejo Matte Varnish. This had an interesting effect of somewhat making the black less black. But it did give a nice fresnel look, so that was nice. This is the final result:
Final Thoughts
I enjoyed myself with this project. I learned a lot.
I learned to use an airbrush, which was nice. I learned a LOT about the actual virus itself (though nowhere close to the knowledge in the experts). More importantly I didn’t abandon halfway through despite multiple temptations to do so. It’s not really the best, but I think I learned a lot more about completing projects.
As I write this blog post and refer back to the sources, I realized I had forgotten to print antibodies. Perhaps I shall print them and attach them to the spikes. Now that there is a mRNA based vaccine which specifically trains your body’s T and B to recognize and seek out the spikes, it might be a good/positive addition to the model.
Thanks and Acknowledgement
In this journey I learned a lot. In no particular order:
- Brent Amberger from Goobertown Hobbies - he taught me the trick to prime with pink when painting yellow. I found Brent from his chemistry videos *I can listen to him prattle on about chemistry all day!.
- Andrea Thorn and her lab for producing this very excellent model.
- My partner for being the most understanding when I start making messes.